Close your eyes for a moment and picture this.
You have just arrived back from a long day and unlock the door to enter your favorite space: home. You kick off your shoes in the entryway as you flip through the mail, then drop it on the table before heading into the kitchen. You open the fridge and pull out a cold one, cracking it open as you peruse the shelves for a tasty snack. Your eyes wander over the pitcher of iced tea on the top shelf, the well marbled steaks thawing on the middle shelf, and the bowl of chopped vegetables waiting to be roasted for dinner on the bottom.
You move aside the plate of steaks as you search for the container of berries you know must be hiding somewhere, when suddenly, you see it: the sticky, gooey mess caused by your own hasty hands a few days ago. You meant to wipe it down the other day, but in your hurry to feed everyone and move on with the night, you failed to clean it up.
And now, the folly of your ways stares you down as you sip your drink, daring you to ignore it once more.
Have no fear! We are here to help assuage your refrigerator-cleaning anxieties with our proven ultimate guide to cleaning out your refrigerator. Follow our tried and true steps and enjoy a clean fridge and freezer sure to be the envy of every other spring cleaning list on your block.
Empty It Out
Ask anyone, and you’ll receive the same answer: the hardest part about cleaning, well, just about anything, is knowing where to start. The first step to any worthy fridge clean out guide is to empty the shelves and drawers of every item inside your refrigerator.
First, empty your kitchen trash can and put in a new trash can liner. Place the empty trash can near the refrigerator for convenience. Next, make sure you have plenty of counter space available. Then, begin to remove all containers and items from your refrigerator.
As you pull out each item, be sure to check for expiration dates. Immediately toss any items that are past their prime, and be sure to throw out any leftovers which have been sitting in the fridge for long. Don’t forget to check salad dressings and condiments.
Keep any items you plan to save on the counter, grouping like items together, and move on to the next step.
Take Out All Shelves and Drawers
Now that every item has been removed from your refrigerator, you should be able to see most of your refrigerator and freezer. As you continue through your spring cleaning list and pull out shelves and drawers, take note of any problem areas you see on shelves, drawers, or in the interior of the refrigerator.
Set shelves in the sink and wet them down with warm, soapy water. Likewise, if any drawers have food stuck to them or spills which need to be cleaned, wipe down the problem areas with warm soapy water, or place them in the sink to soak as you continue with your fridge clean out.
Clean It Up
As your shelves and drawers are soaking, take a washcloth with a little warm, soapy water on it and begin to wipe down the inside of your refrigerator and freezer. If you find a particularly stubborn spot or spill, use a sponge and a little elbow grease. Many people balk when it comes to cleaning out their refrigerator or freezer, but our simple method will teach you how to clean a freezer with ease.
Scrub Shelves and Drawers
Now that the inside of your refrigerator is spotless, it is time to clean up those shelves and drawers you left soaking in the sink! Wring out your dishcloth and add a little soap and warm water, then attack those shelves and drawers with gusto! The incentive of checking off another item on your spring cleaning list – in addition to your clean refrigerator and freezer – will be ample reward!
Dry It Out
Once your shelves and drawers are clean and sticky-free, turn them upside down and lay them on a dishcloth to dry. Next, grab a dry cloth and begin wiping down the inside of your refrigerator. Pay close attention to all three walls, as well as the inside of the door. If you notice any spots you missed earlier in your fridge clean out, take care of those now! Dry each shelf and drawer, and return it to it’s appropriate place in your refrigerator.
Fill the Fridge
Once your refrigerator is completely dry, replace all food items, drinks and condiments. Check expiration dates once more as you return items to their appropriate places, and toss any items which are past their prime. This is a great time to reorganize your refrigerator. Consider placing fresh fruits and vegetables on an eye level shelf, and placing items with a longer shelf life in less conspicuous places.
Clean the Freezer
Next, turn your attention to the cold side. Many people struggle with knowing how to clean out a freezer, but the truth is that it is so simple. First, remove everything in the freezer. Take note of all food items, and make sure you know the condition of all meat you plan to keep. If you aren’t sure how to store, freeze or refreeze meat, no need to fret. Our handy guide will tell you everything you need to know – and then some.
If there are any drawers in your freezer, or an ice tray, remove those items too. Next, follow the same method you used on your fridge clean out. Clean any shelves or drawers, then set them out to dry. Next, use a warm soapy cloth to wipe down the inside of your freezer. Dry the interior of your freezer with a dry cloth, then place your items back inside.
Clean the Outside
You’re in the home stretch! Next, remove all magnets from your refrigerator and freezer doors, then wipe each door down with a warm, soapy cloth. Dry with a dry cloth, then check another item off your spring cleaning list!
Pat yourself on the back! You may have started the day without knowing how to clean out a freezer, but you just rocked this fridge clean out with style.
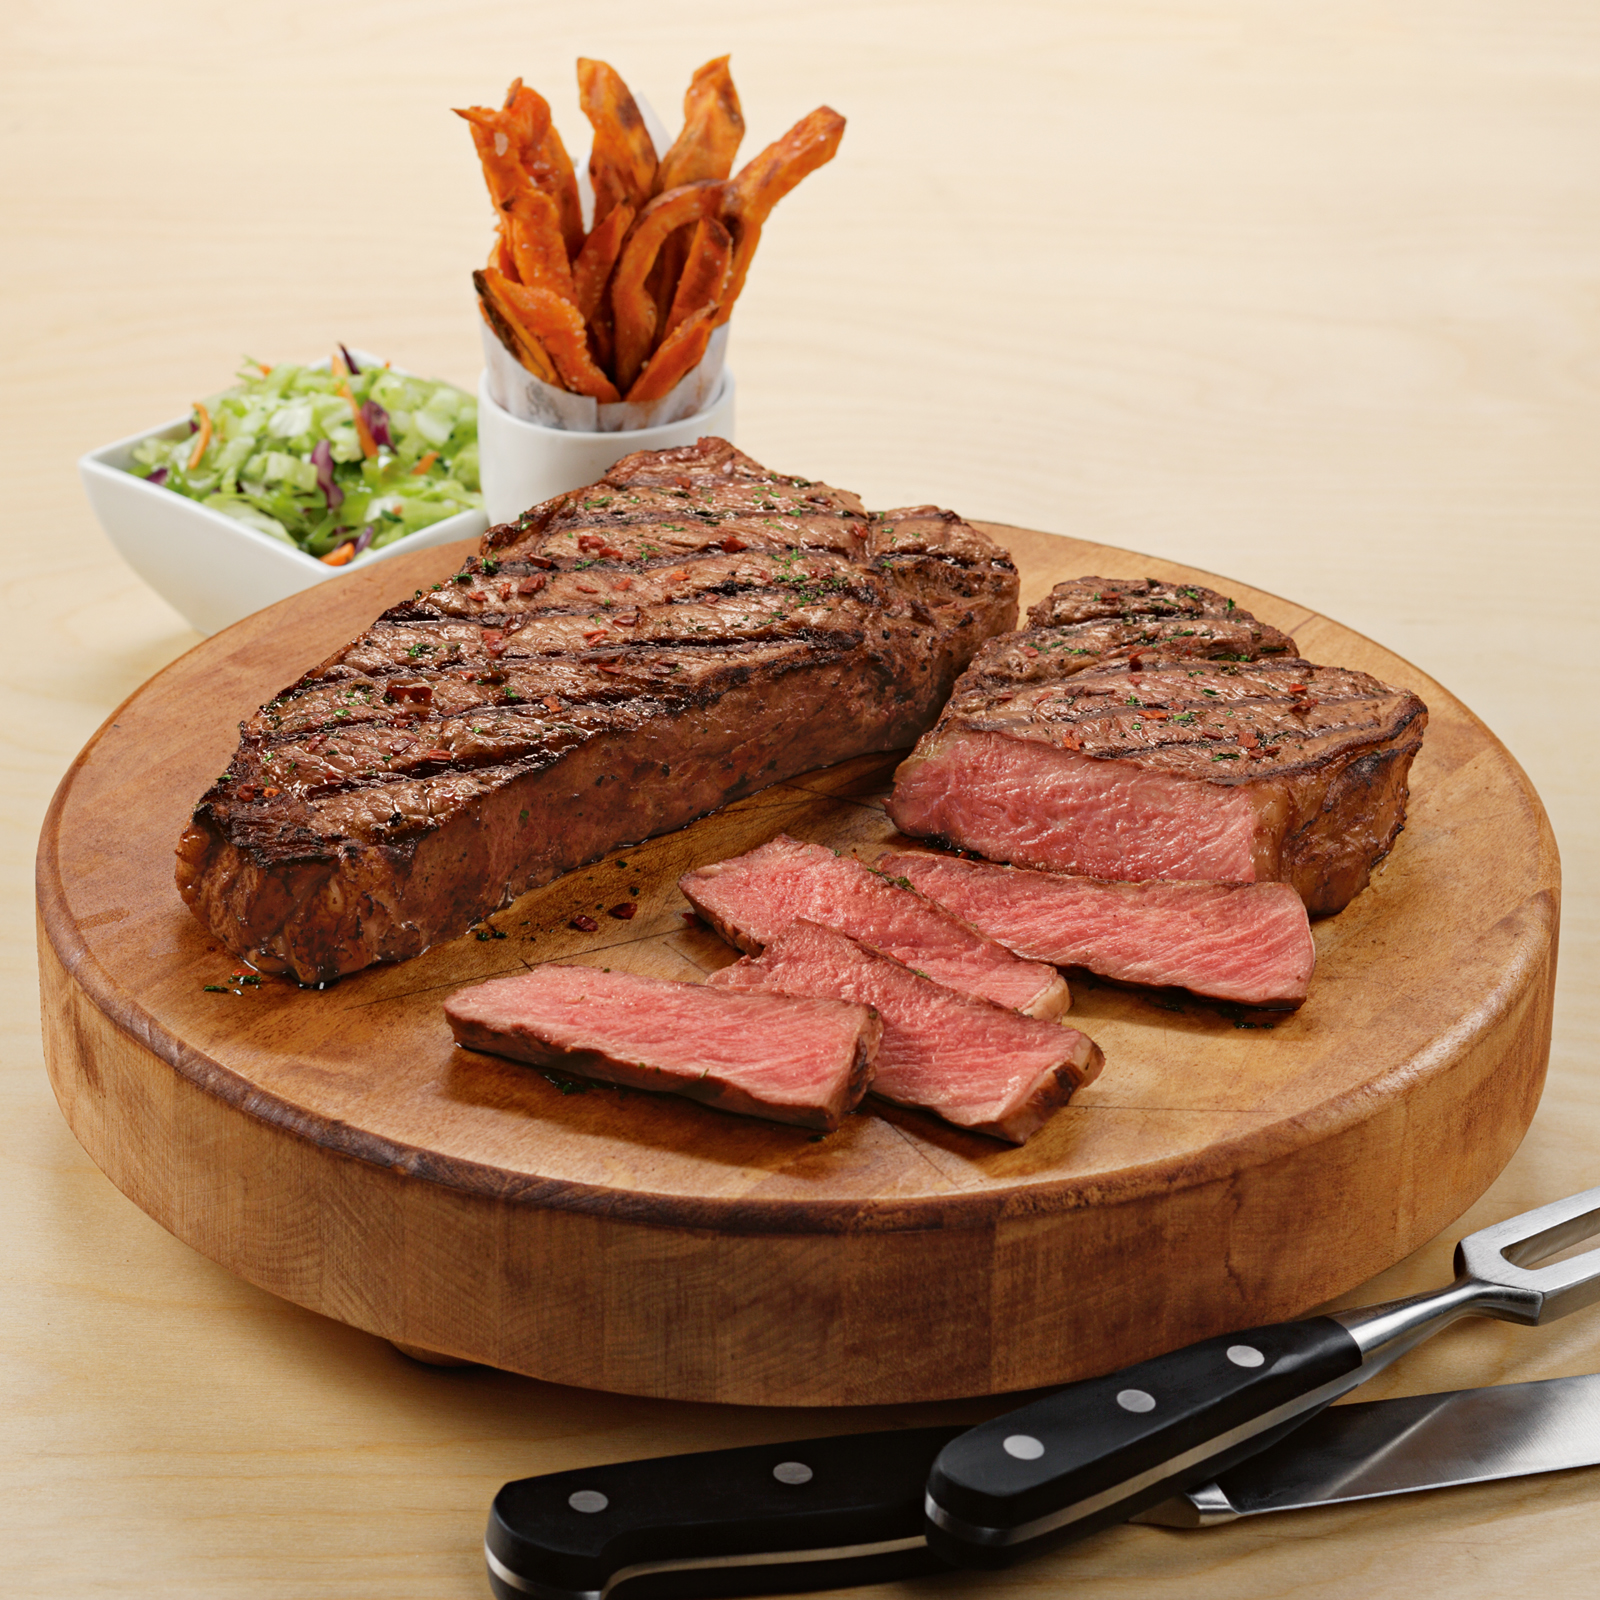
Now, season up those steaks, fire up the grill and go grab another cold one.
You’ve earned it.